I had been thinking and researching having chickens for longer than I'll admit, but something kept me from diving in, insecurity maybe? But on May 3rd of 2015, I went for it and picked up some Buff Orpingtons at Southern States. They were super tiny and adorable. I bought seven because it was what they had left and six is the minimum here. I rehomed three of them to a friend of mine whose sister has a farm and the remaining four stayed with me, at my little house, in the middle of the city.
They sucked me right in and I am absolutely in love with them. They have been wonderful to watch grow and see their personality differences. I started naming them when I reached the point I could tell them apart. It's still a challenge, so at 5 months old I banded them, but here they are:
Name: Mike
Breed: Buff Orpington
Hatch Date: May 1, 2015
Started Laying: 12/24/15
Individual Details: Mike is the largest of my Orpington hens. Her comb came in the earliest and the darkest, but is not the smallest of the four. It looks very rock-n-roll, I think. She's the easiest to take pictures of, but Hates being picked up. She lets me have it when I move her somewhere or have to check her out for some reason.
She is turning out to be a solid layer and her eggs are easily distinguished from the rest, they are large and dark with darker speckles on them. I've noticed she likes to keep sitting on the eggs for up to an hour after she lays them. I predict a lot of broodiness in her future.
Name: Gypsy
Breed: Buff Orpington
Hatch Date: May 1, 2015
Started Laying: 12/11/15
Individual
Details: Gypsy is the most cooperative of these four. She lets me pick her up with relative ease and (as you can see in the picture) runs towards me frequently to see what I'm doing. She was also my first layer. She lays very small, light colored eggs that are all yolk, it seems. But she is consistent. Even though it is December, she has given me 13 eggs in less than 4 weeks.
Name: Servo
Breed: Buff Orpington
Hatch Date: May 1, 2015
Started Laying: 12/12/15
Individual
Details: Servo started laying the day after Gypsy and gives me my largest eggs. Her first was a rubber egg, so that was fun, but since then, they've been large and a light color. She is our funniest Doodle. She was the first to realize there was fencing between her and the dog and ignore her. It was quite funny. Scaring the chickens is one of our Doberman's favorite past-times. Servo is also friendly and is always following my husband and I around. Her comb also developed the slowest, but she was one of the first layers, interesting. She was also the first hen to become fertile once my roos got old enough to chase her around.
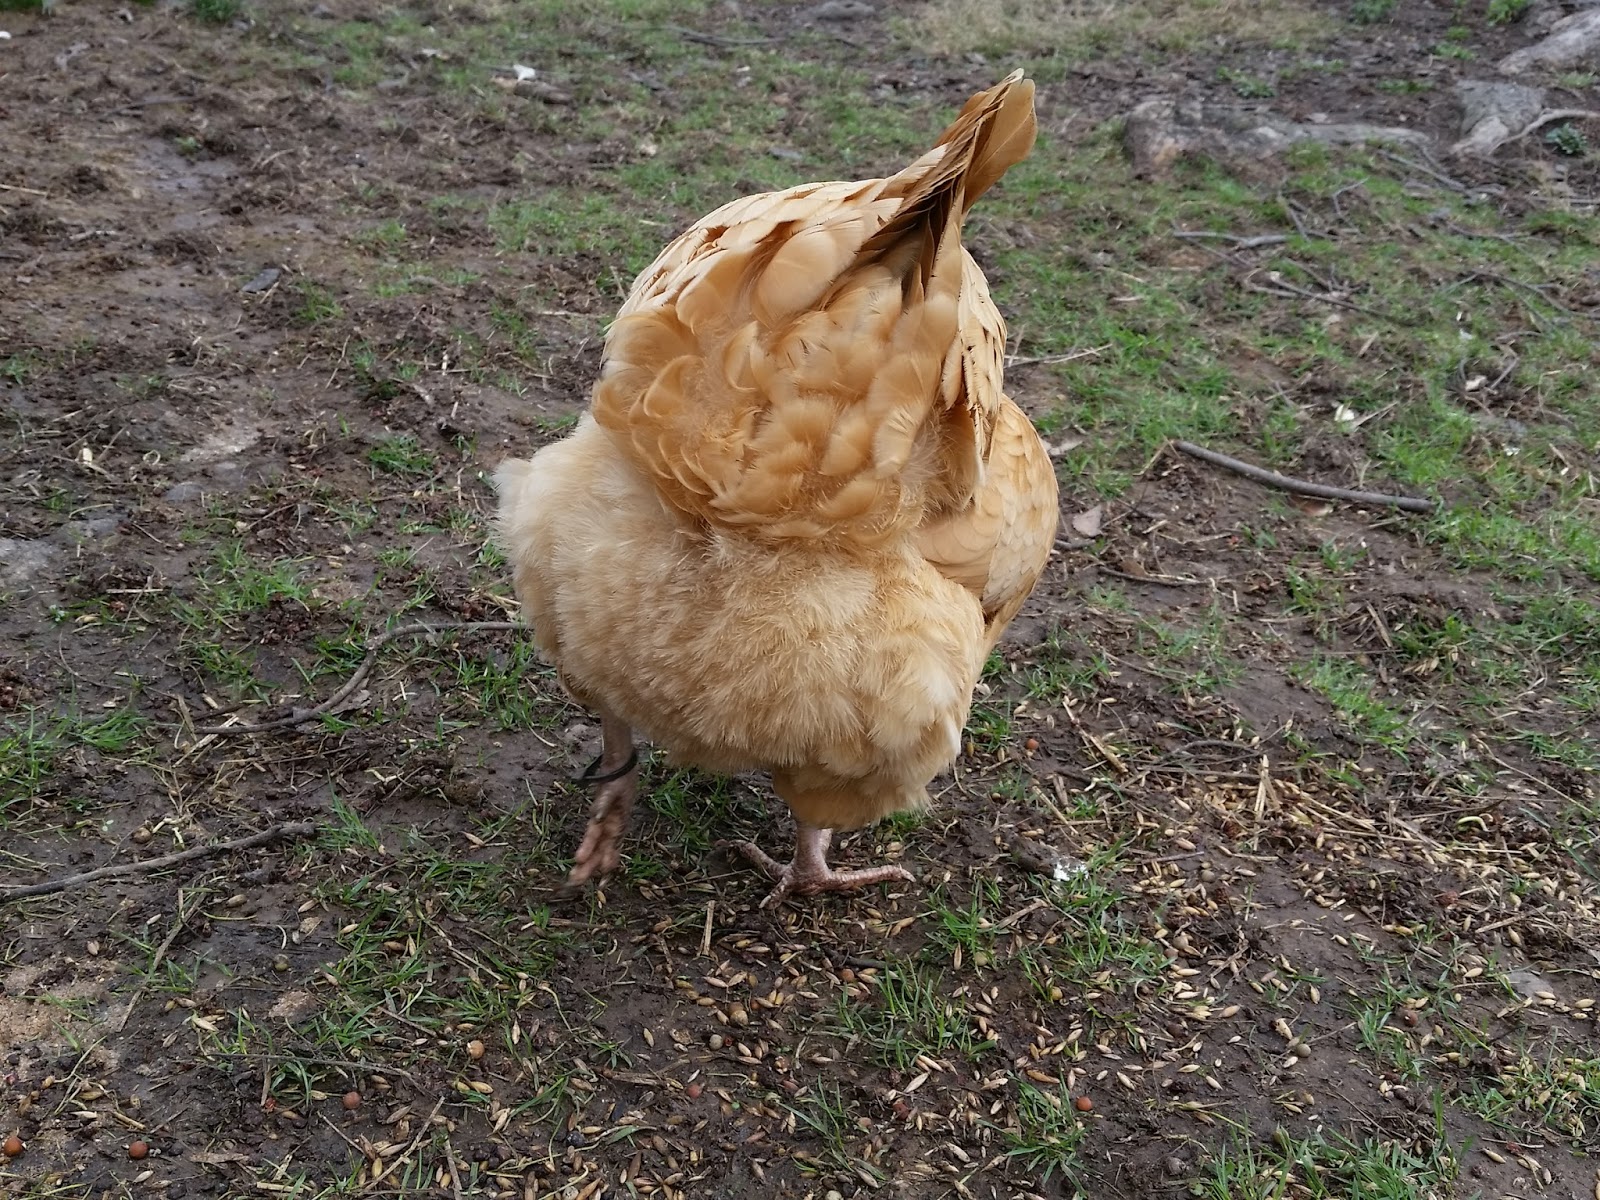
Name: Crow
Breed: Buff Orpington
Hatch Date: May 1, 2015
Started Laying: 12/27/15
Individual
Details: Crow is my troublemaker. She is loud and squawky. She seems to always be letting someone have it. She was the last of this group to start laying, but is finally starting to give us tiny eggs regularly. She is also the reason everyone got their wings clipped at five months, as she decided to visit my neighbor.
 |
| Crow's butt |
In November, I inherited some chicks from my workplace (as I've
written about in previous blog posts) and I have named and kept five of them to add to my flock.
Here they are:
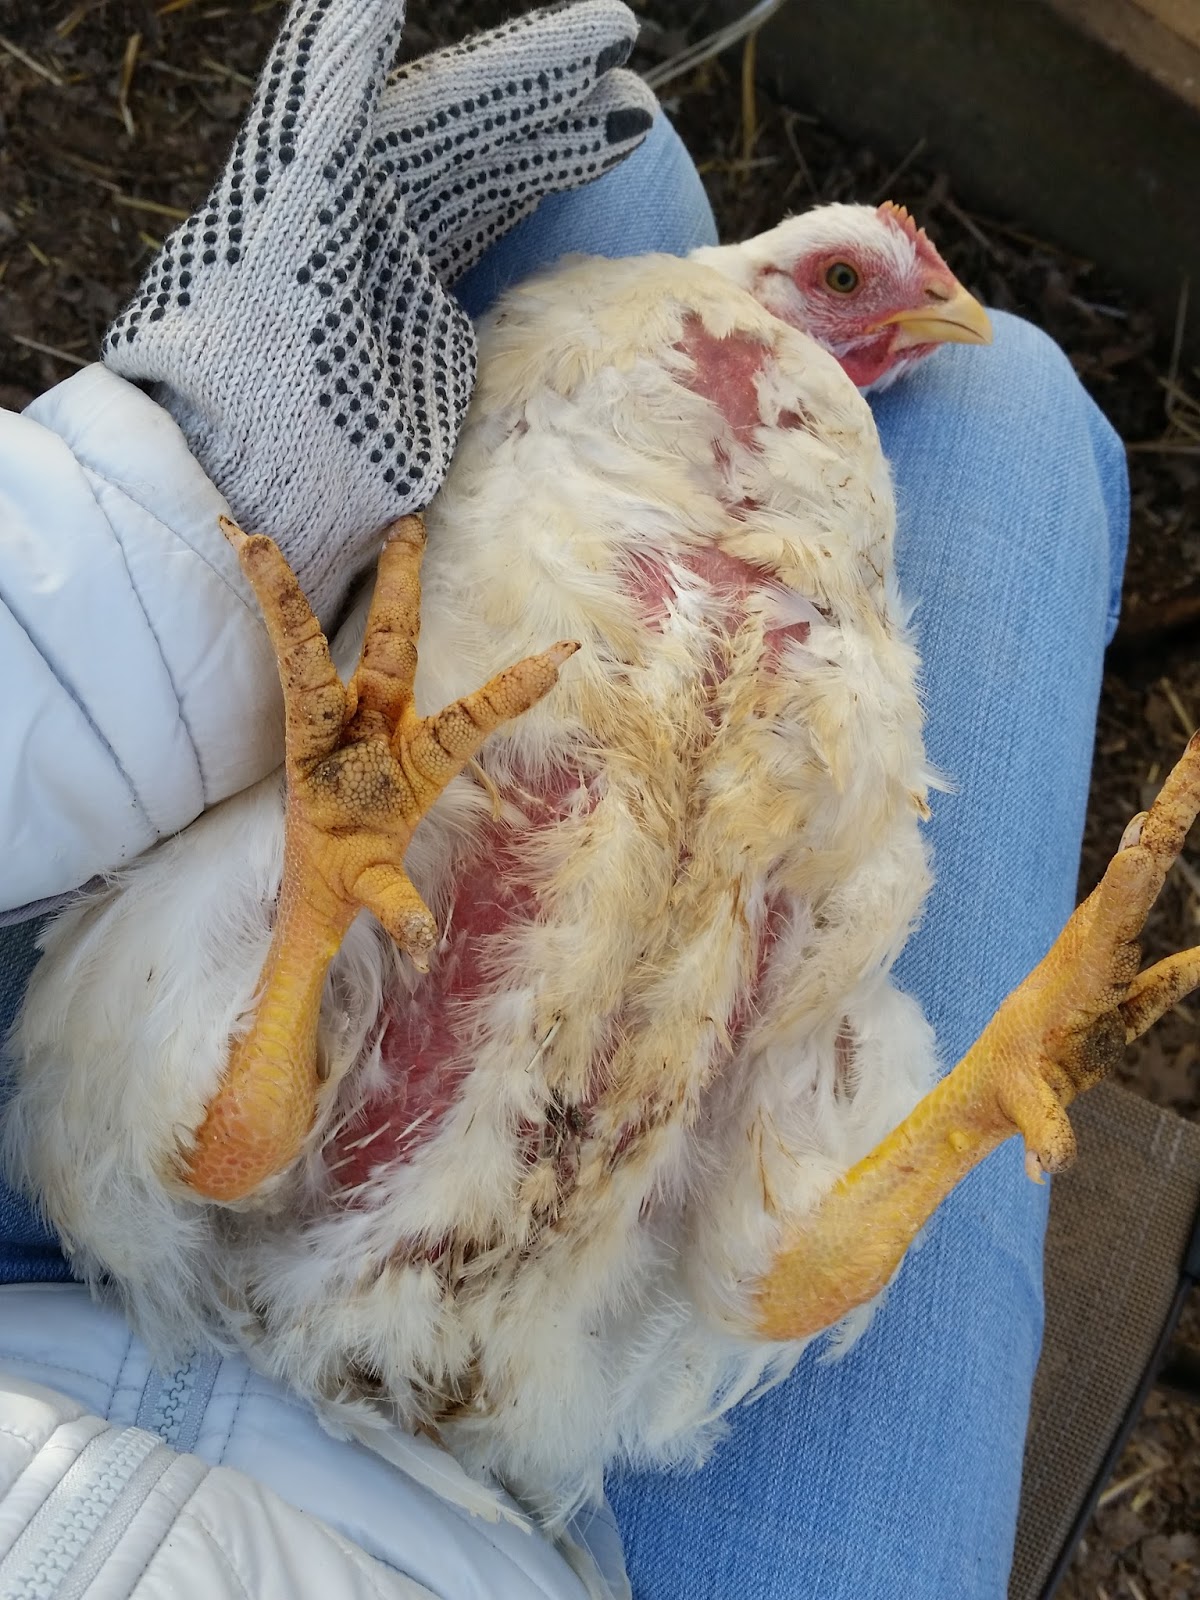
Name: Amelia
Breed: White Cornish Cross
Hatch Date: November 18, 2015
Started Laying: Too Young
Individual
Details: Amelia has been one of my favorite from the first week. She was the first to start flying out of the brooder (hence the name) and loved to roost on the edge and check everyone out. She and one of my cats would go eye to eye, just trying to figure each other out. It was adorable.
 |
| Amelia getting her scratch on |
She seems protective of the other chicks. I've noticed she will sit in the entry of the small coop they were in between them and my older hens, who are peckish with the young ones. I have to babysit if they have access to each other right now. She's just lovely and very big. Being a meat bird means she's bred to gain weight rapidly. She's up to about 11 pounds now, but amazingly, the feathers on her belly and bum are grown in now, for the first time. I think she's doing well. Her waddle is entertaining as hell, but she seems healthy.
Name: Turtle
Breed: Rhode Island Red Bantam
Hatch Date: November 18, 2015
Started Laying: Cockerel
Individual
Details: Turtle stole my heart the day I brought him home. He was the last to hatch and kept falling on his back and couldn't roll over. So the other chicks would peck at him. We managed to protect him and he has been eating, drinking and growing, although much slower than everyone else. It took us a couple of months to realize that he was a bantam and a he. He is super high strung and pretty hilarious.
This is Turtle's attempt at crowing. He's getting better! He has finally started fertilizing the ladies. His attempts on Bonnie are fairly entertaining, but my son says when he came home from school today Turtle was getting it on with Bonnie and she wasn't fighting it.
Name: Rufus (formerly Rubeus)
Breed: Jersey Giant
Hatch Date: November 18, 2015
Death Date: March 4, 2016
Started Laying: Cockerel
Individual
Details: My sweet Rufus passed on from reasons unknown. I found him sitting quietly in the evening, away from everyone else and he was gone by the morning. He let me pick him up and was a sweet boy. I was looking forward to seeing his beautiful feathers on his giant body. He was my first loss and I will forever remember him.
Name: Pearl
Breed: Australorp
Hatch Date: November 18, 2015
Started Laying: Too Young
Individual
Details: I have wanted an Australorp from the beginning, so I was very excited to figure this one out. She is just lovely and very healthy. She does pretty well letting me take some close pictures of her, as you can see. She has that stunning green sheen on her feathers and is growing into a gorgeous hen.
She's pretty mellow and doesn't really get involved in drama. So when I heard her sing the hen song the first time, I knew she was serious. :-)
Name: Bonnie
Breed: Barred Plymouth Rock
Hatch Date: November 18, 2015
Started Laying: Too Young
Individual
Details: Bonnie is just lovely and so far a pretty easy chick. She's the most mellow of my newest chicks and I definitely would like another one. My husband and I both love her colors and think this breed is a lovely hen. I'm looking forward to seeing her grow. She's starting to fly around a little bit, just like Amelia and I'm curious to see how that goes. I see me
clipping their wings as soon as I can. Living in the middle of a city on a main road means keeping them safe and in the fenced-in yard!
Name: Stevie
Breed: Partridge Cochin Dad/Cochin Mom
Hatch Date: February 24, 2016
Started Laying: Too young
Individual Details: She is so far very sweet and fairly quiet. She likes to fly onto the edge of the brooder and hang out and then she naps. At three weeks though, what can you expect.
She was my very first chick to hatch though and is very special.
Name: Rico
Breed:Blue/Black Maran Mix
Hatch Date: March 10, 2016
Started Laying: Cockerel
Individual
Details: He's freaking adorable. Seriously, James and I are over the moon for this guy. He is the only survivor out of a hatch the had a heat spike. I lost all the other 17 eggs, which was heart breaking. We're keeping him, even though he's a roo.
 |
| Bonnie and Turtle taking a nap. Turtle has reached his fully size, more than likely and Bonnie still has more to go. |
 |
| The four remaining of this hatch, looking adorable and hanging out. |
We also have a few other pets; two cats (one loves the chickens, the other would love to eat them) and a mixed breed Doberman named Elly. We didn't allow her access to the chickens for the first six months. After that we allow them in the same space in the yard if we're also outside. She does well with them, chases a bit, but never nips or even opens her mouth. She loves the chicks and wants to mother them the way she does kittens we fostered recently. It's pretty entertaining.
So these are all my Doodles. They are great fun and it
almost maxes us out for chickens. We could probably fit a couple more
with the combination of the new and old coops. We have 40 square feet of
coop, 100 square feet of run, but we mostly let them free range in our
yard during the day with the 6 foot chain link fence. So far we've had
one fly over, Crow, but see this happening with Bonnie soon!


